

Designing a functional kitchen—where to start?
This blog post explains the steps to design a functional kitchen.
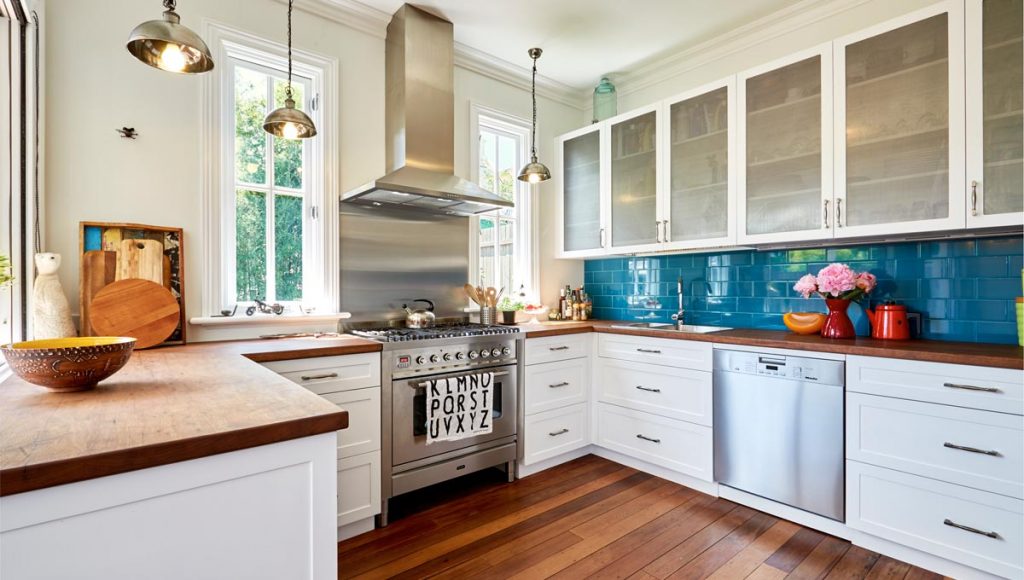
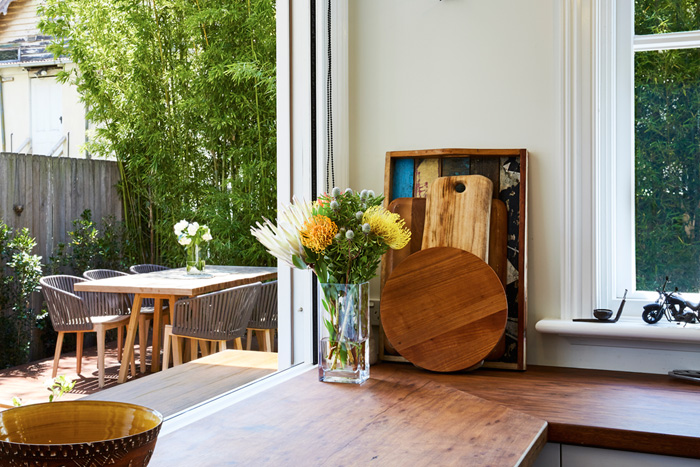
Photo by Joshua Witheford
Let’s get into the zone now. Or in plural, in fact, zones:
The first step in designing a new kitchen is defining the working zones.
First, list down everything you want to do in your kitchen, such as: breakfast preparation, chopping vegetables for dinner for the extended family, washing dishes, serving food, baking delicious cakes, making fresh sushi rolls for kids lunch bag in the morning, using your fancy steamer, sit down for a cuppa, packing away leftovers, kids making themselves an afternoon tea, etc. – whatever it is that you and your family do in the kitchen.
Think about how you like to use the kitchen – is it just one person at a time or are there many chefs stirring your soups? Then group the tasks if they are very similar: breakfast preparation is very similar to afternoon tea preparation and sushi making requires chopping vegetables too. These grouped tasks are your zones.
Second, list down everything you need for all these zones. Some of them are overlapping.
For example, for making a breakfast I would need: fridge to get the milk, cheese and butter from; oats (read: pantry or dry storage); a bowl, cup and plate; microwave oven for making the porridge in; coffee machine; water to fill it up; bread; toaster for toasting bread; and a knife, spoon and cheese slicer.
Ideally everybody in your household has breakfast every day – and it’s not often leisurely – so your breakfast zone is one that is used actively and should work seamlessly. Everything you need in this zone (or in any zone) should be reachable by standing in one spot or maximum just a step to the left and a jump to the right. This list tells you that in breakfast zone you should have access to the most common cutlery and crockery, fridge, pantry, microwave, coffee machine and toaster. Remember that many people in the household might want to have breakfast at the same time so this area might require additional space.
Then your next zone: sushi / dinner making – or food preparation zone in general: you need access to water for rinsing veggies and washing your hands, chopping boards, good knife, fridge and a lot of working space.
And so on. Your food preparation zone would ideally be in between the fridge and the sink, or between the sink and the stove. Your packing away zone should have your collection of 60 lidless tupperwares and cling wrap. The dishwasher should be near water for rinsing, the bin for scraping and the most commonly used crockery and cutlery so that emptying it is a breeze. Get the idea?
Third, let’s draw. Draw a bubble for each of your zones and mark down the items needed in them. Some of the bubbles are overlapping, some of them are smaller than others, many of them would ideally be in the exact same spot so you need to compromise. Pay attention to which items are shared – they need to be more central in your kitchen with easy access from various zones.

Your zones show you how to place the storage and working areas in your new kitchen in relation to each other, in order to make it ideal for your lifestyle. Now you only need to match the zones to the kitchen layout and the available space, like this:

But that’s it – the first step for a functional kitchen design is done!
* Small text: there’s still the little tasks of selecting cabinetry and storage types and sizes, selecting materials and colours for cabinets, benchtop and splashbacks, selecting appliances, buying the shiny copper toaster, styling it all skilfully, learning to cook. I’ll get to the remaining parts in my later blogs so keep on reading. (The learning-to-cook part I will not mention again.)
Until the next time!
Sari